Nothing is more frustrating than pressing the power button and realizing your computer won’t turn on. Whether you’re using a desktop PC or a laptop, this detailed guide will help you diagnose and fix the issue step by step.
Step 1: Check the Power Source
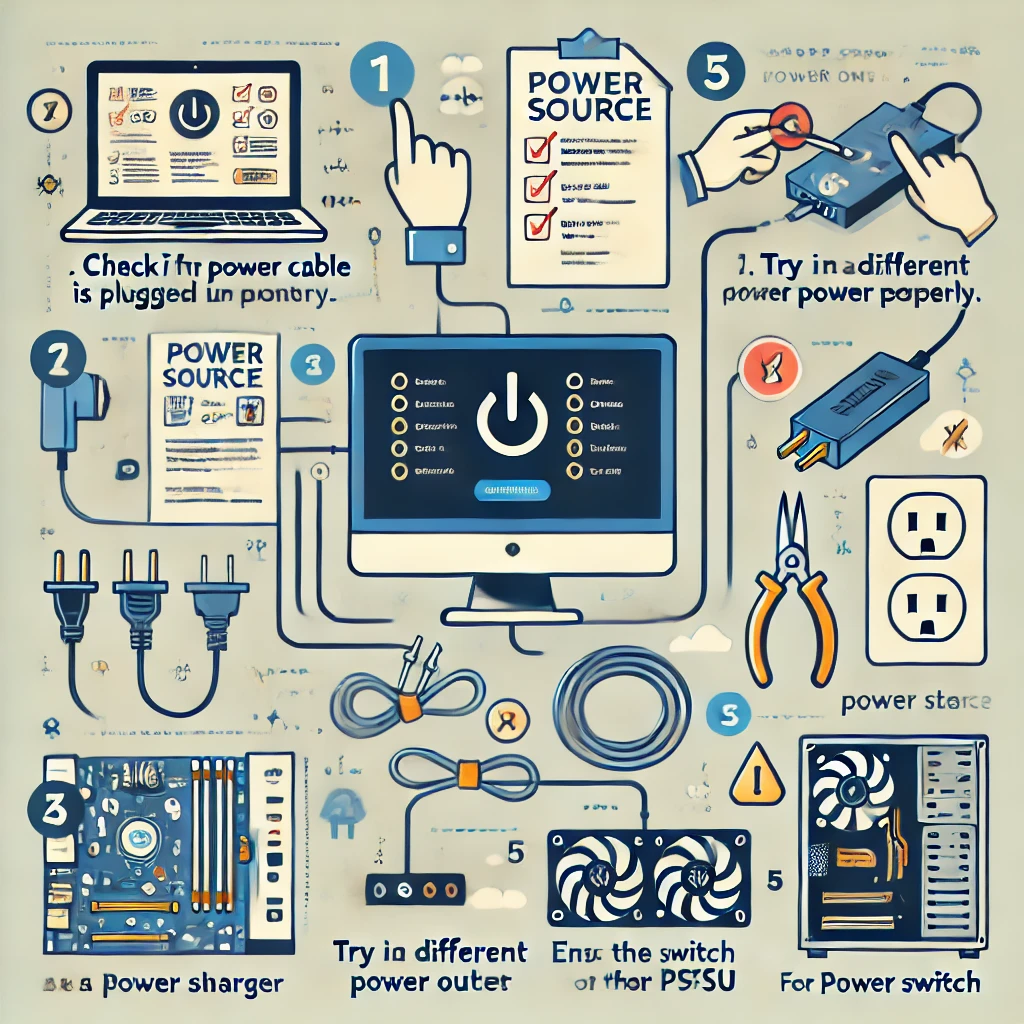
Before diving into technical fixes, ensure that your computer is receiving power.
For Desktop Users:
✔ Ensure the power cable is securely plugged into both the wall socket and the PC.
✔ Try plugging the power cord into a different socket to rule out a faulty outlet.
✔ If using a power strip or surge protector, bypass it and plug directly into the wall.
For Laptop Users:
✔ Check if the charger is properly connected to both the wall socket and the laptop.
✔ Look for charging indicators—some laptops have a small LED light to show it’s charging.
✔ Try using a different charger if available, as faulty adapters can prevent charging.
💡 Tip: If you suspect a faulty power outlet, test it by plugging in another device, such as a lamp or phone charger.
Step 2: Inspect the Power Button
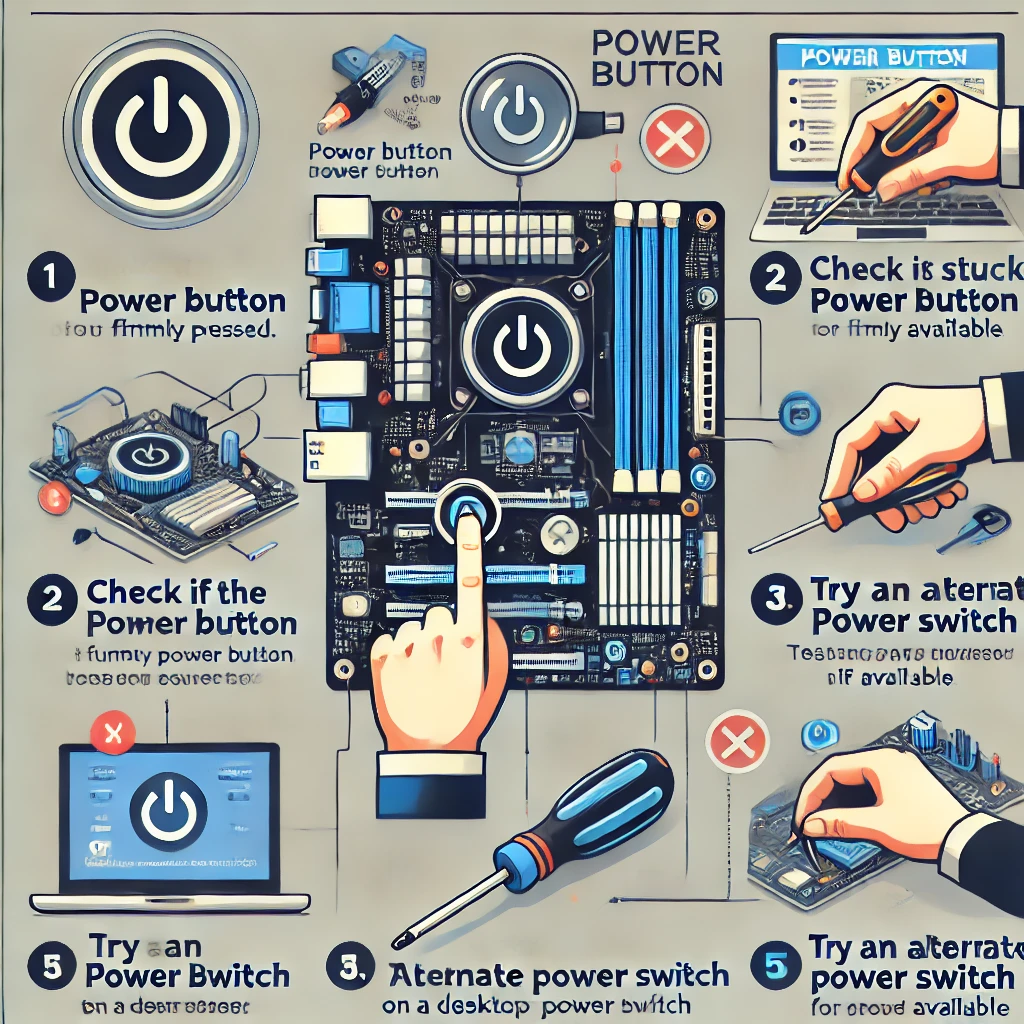
If your computer is plugged in but still not turning on, the power button itself may be the problem.
✔ Press the power button firmly for a few seconds.
✔ If using a desktop, check if the power button cable is properly connected to the motherboard.
✔ On some laptops, there may be a secondary power switch near the battery—make sure it’s turned on.
💡 Tip: Some desktop PCs have a reset button. Try pressing it to see if it triggers the power.
Step 3: Look for Signs of Power
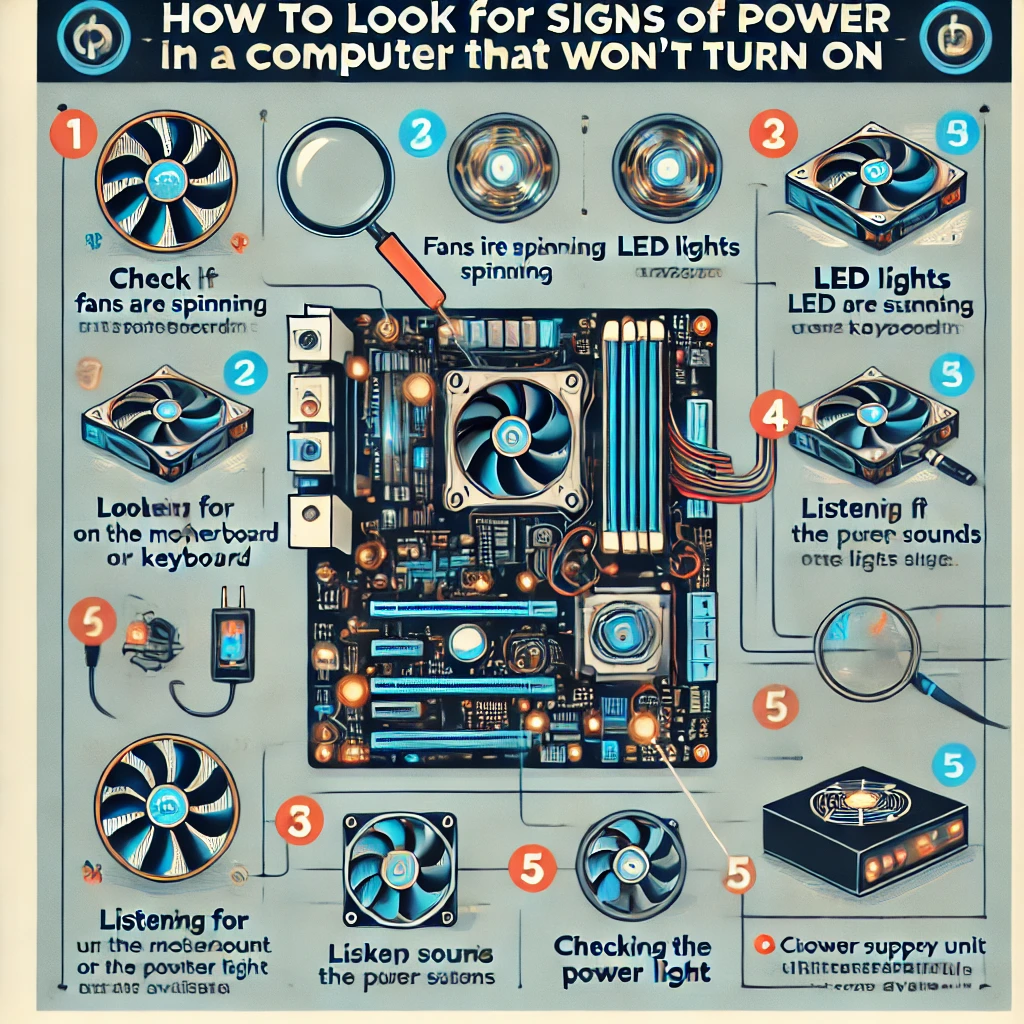
Even if your computer doesn’t fully turn on, check for these signs:
✅ Fans spinning – Indicates the power supply is working.
✅ Lights on motherboard or keyboard – Shows power is reaching components.
✅ Beeping sounds – These are BIOS error codes that indicate hardware issues.
✔ If no lights, sounds, or movement are present, the issue could be the power supply or motherboard.
💡 Tip: If your PC briefly turns on and then shuts down, the power supply might be failing or overheating.
Step 4: Check the Power Supply Unit (For Desktops)
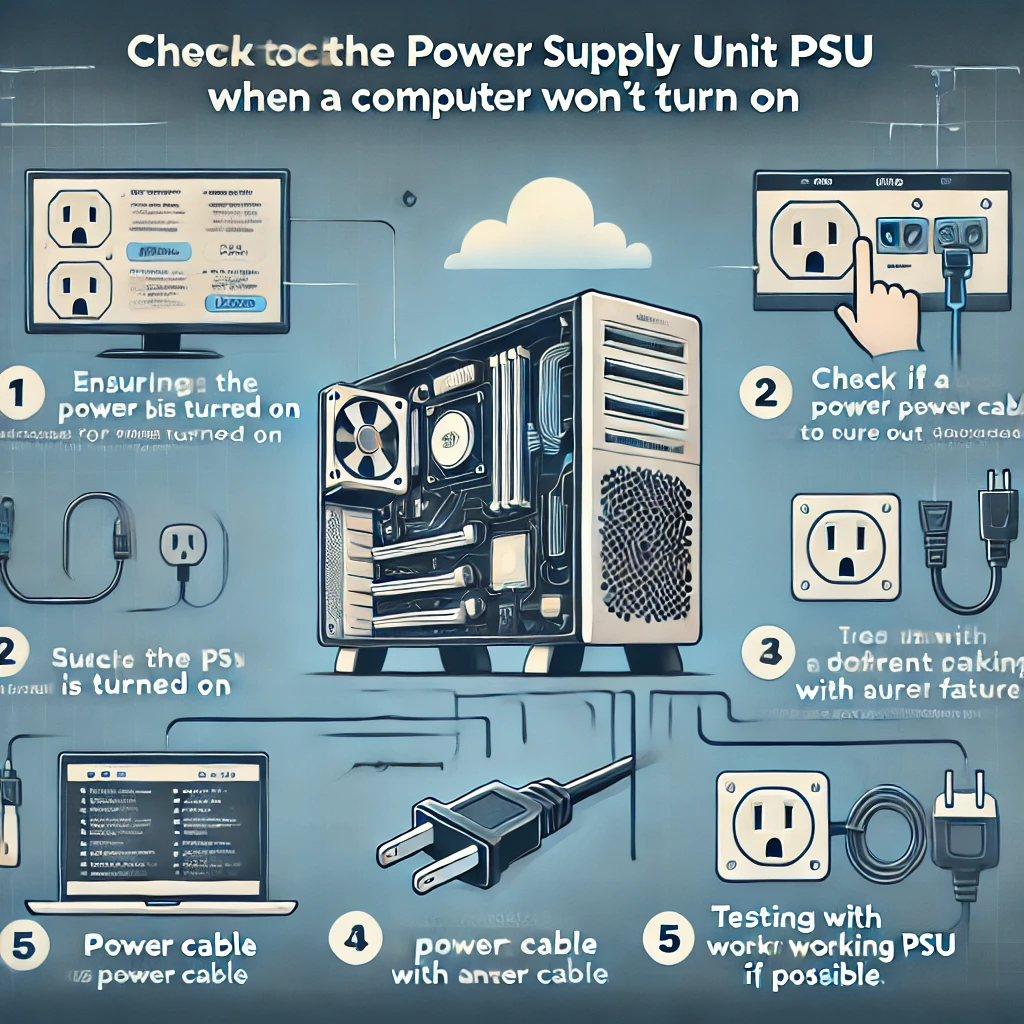
The Power Supply Unit (PSU) converts electricity for your computer. A faulty PSU can prevent the PC from turning on.
✔ Try using a different power cable (if available).
✔ Check the PSU switch at the back of your PC—it should be in the “ON” position.
✔ If possible, test with another PSU to see if the issue is resolved.
💡 Tip: If you hear a clicking or buzzing noise from the PSU, it may be damaged.
Step 5: Remove External Devices
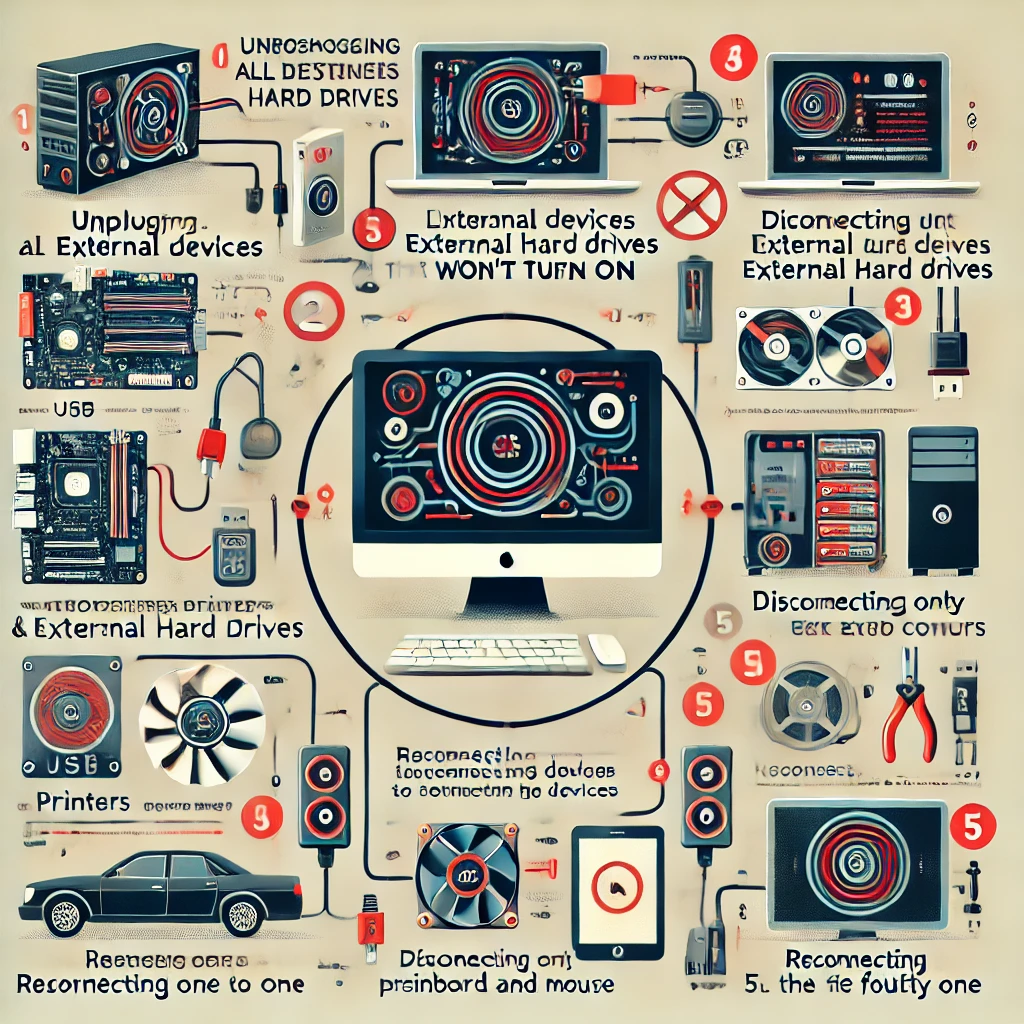
Sometimes, an external device can cause boot issues.
✔ Unplug all USB devices, external hard drives, printers, and other peripherals.
✔ Try turning on the PC with only the keyboard and mouse connected.
💡 Tip: Faulty USB devices or corrupt bootable drives can interfere with startup.
Step 6: Check the Laptop Battery (For Laptop Users)
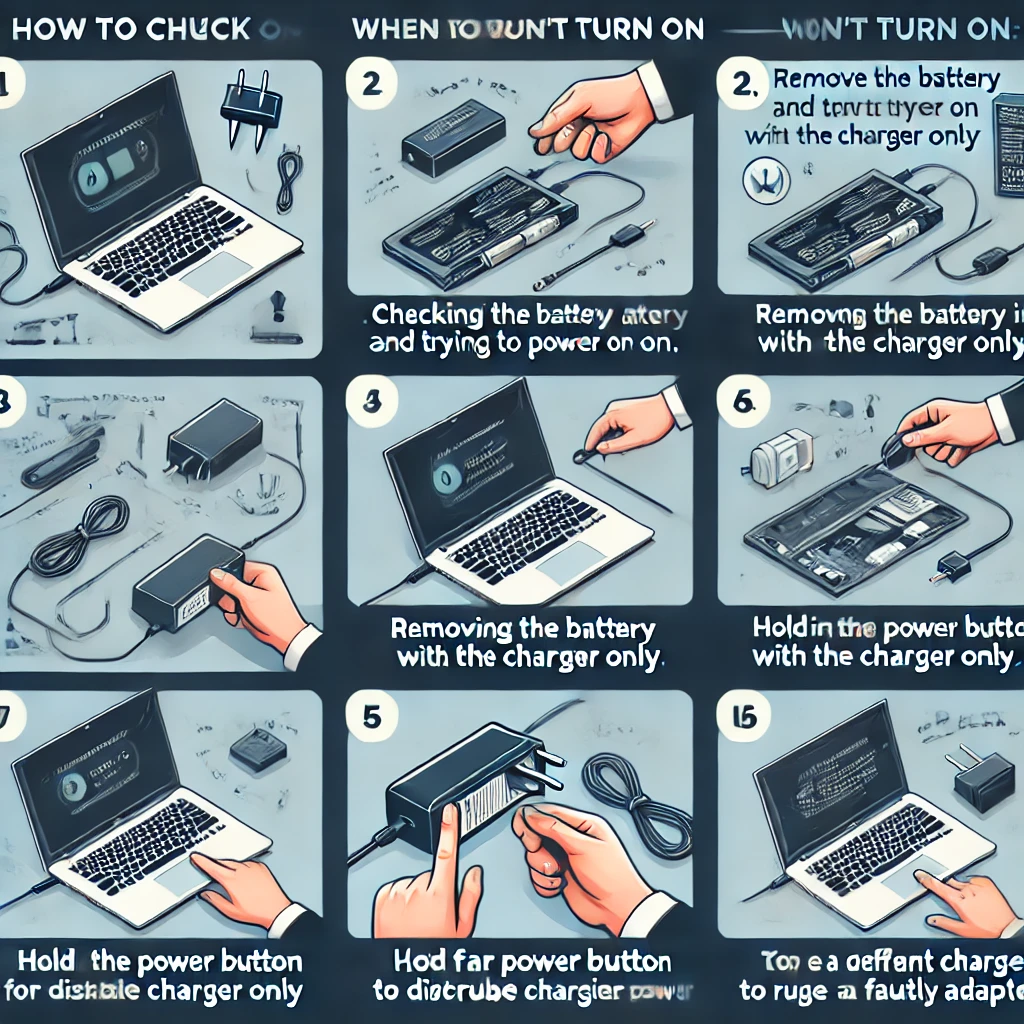
If you’re using a laptop, the battery may be the issue.
✔ Remove the battery (if removable) and plug in the charger directly.
✔ Try holding the power button for 30 seconds to discharge any remaining power.
✔ If your laptop has a reset pinhole, use a paperclip to press it.
💡 Tip: If the laptop turns on without the battery, you may need to replace the battery.
Step 7: Check RAM and Hardware (For Desktops & Laptops)
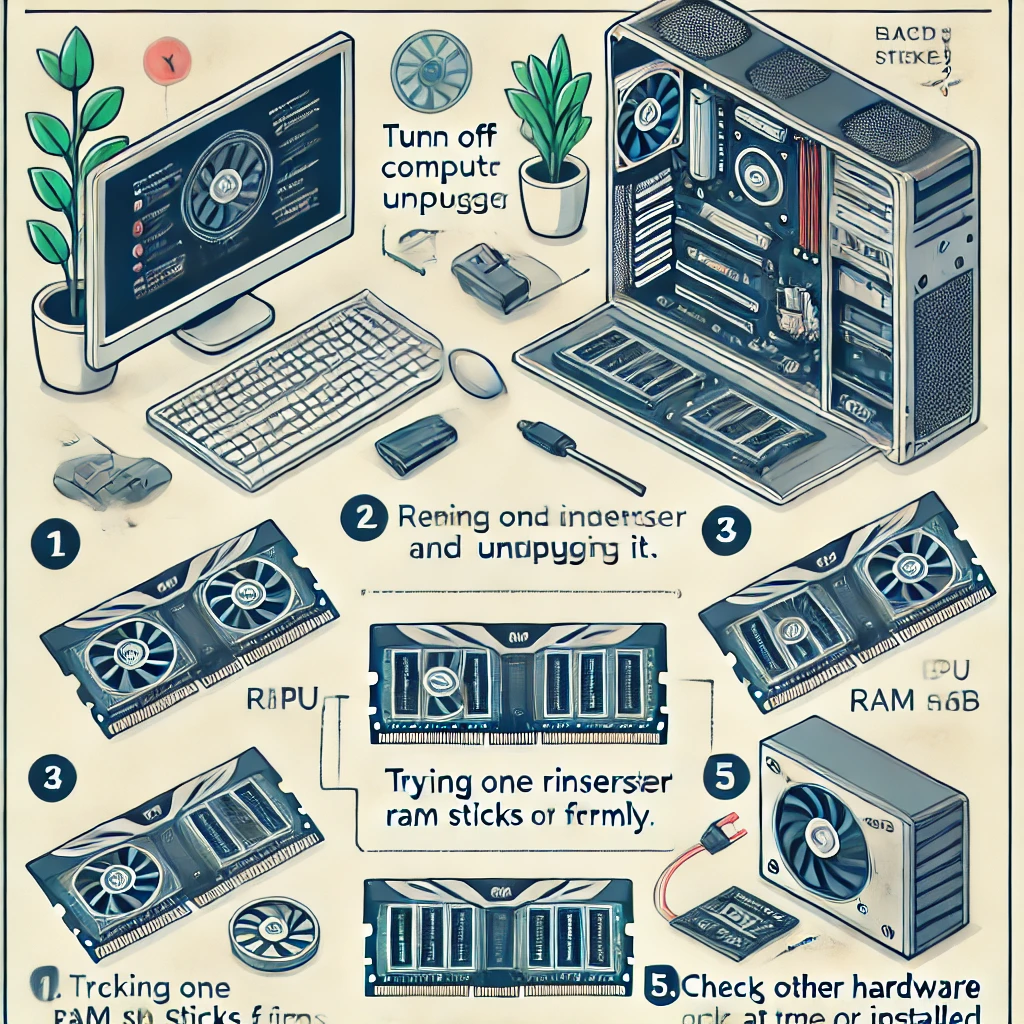
If your PC turns on but doesn’t display anything, faulty RAM or hardware could be the cause.
For Desktop PCs:
- Turn off the PC and unplug it.
- Open the side panel of the case.
- Locate the RAM sticks and remove them.
- Reinsert them firmly or try one at a time in different slots.
- If you installed new hardware (GPU, SSD, etc.), remove it and try booting again.
For Laptops:
- Turn off the laptop and remove the battery (if removable).
- Open the back panel (if accessible) and reseat the RAM.
- Try one RAM stick at a time if you have multiple sticks.
💡 Tip: If the PC beeps repeatedly, it may indicate a RAM issue.
Step 8: Listen for Beep Codes (For Desktops)
If your PC has an internal speaker, it may give beep codes that indicate issues:
✔ 1 long, 2 short beeps – Graphics card issue.
✔ Continuous beep – Power supply or RAM failure.
✔ No beep at all – Motherboard or CPU issue.
💡 Tip: Check your motherboard manual for a full list of beep codes.
Step 9: Reset BIOS (For Advanced Users)
If your PC powers on but doesn’t boot, resetting the BIOS may help.
How to Reset BIOS:
- Turn off the PC and unplug it.
- Open the case and locate the CMOS battery (a small round battery on the motherboard).
- Remove the battery and wait 5-10 minutes.
- Reinsert the battery and restart the PC.
💡 Tip: This resets BIOS settings to default, which can fix boot issues.
Step 10: Check for Motherboard or CPU Failure
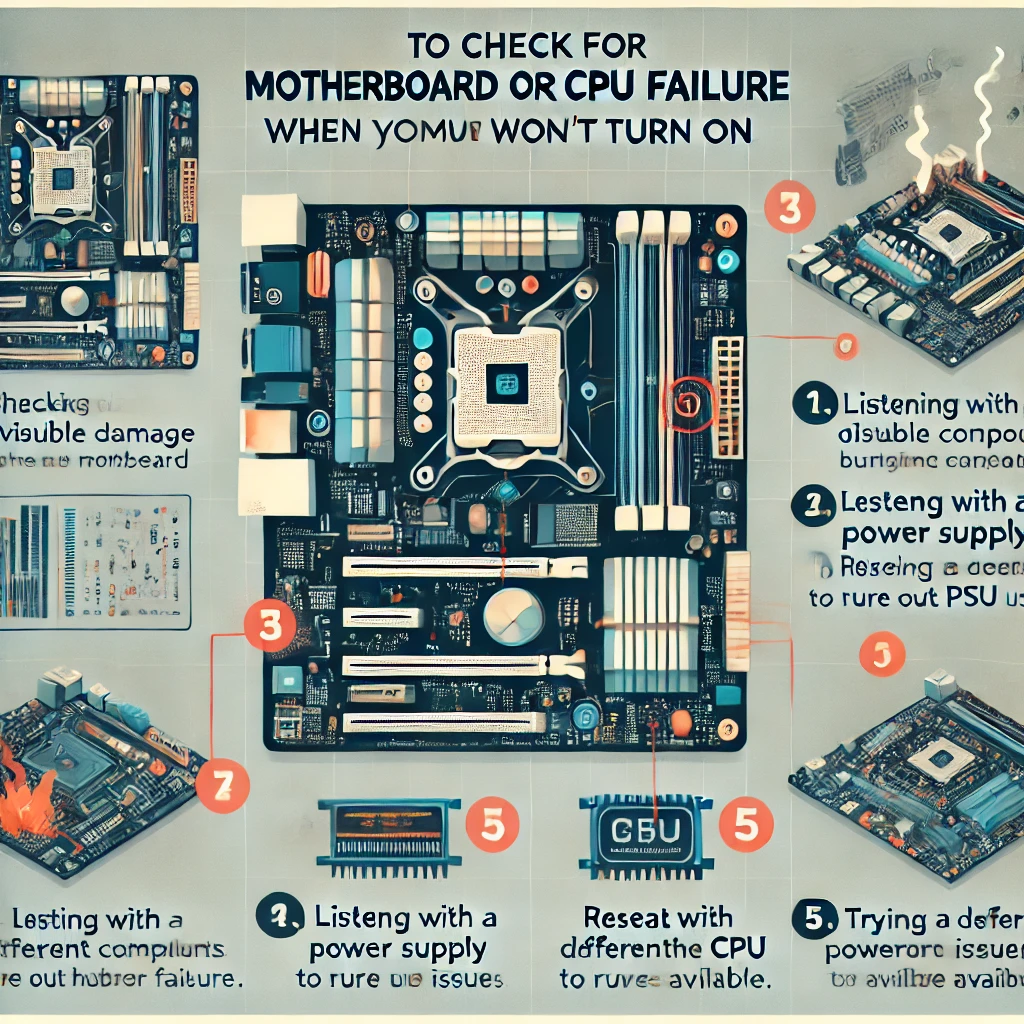
If none of the above steps work, the issue could be with the motherboard or CPU.
✔ Look for burnt components or bulging capacitors on the motherboard.
✔ Try using a different power supply to rule out PSU failure.
✔ If the CPU is overheating, it may shut down automatically.
💡 Tip: If your PC is under warranty, contact the manufacturer for repair.
Step 11: Seek Professional Help
If your computer still won’t turn on, it may require professional repair.
✔ Contact a computer technician for diagnostics.
✔ If under warranty, contact the manufacturer for support.
Final Thoughts
A computer that won’t turn on can be frustrating, but these step-by-step troubleshooting steps should help you diagnose and fix the issue.
Did these fixes help? Let us know in the comments below! 😊
🔹 Need More Help? Check out our other troubleshooting guides for more solutions!
// You May Like //
🔗 How to Turn Your Old Smartphone into a Security Camera
🔗 How to Connect Multiple Monitors to a Single Computer
🔗 iPhone Swipe Typing: How to Use Slide to Type Feature
![]()