Managing Windows user accounts is essential for ensuring security, privacy, and control over your PC. Whether you’re setting up a personal computer, creating accounts for family members, or managing multiple users in a business setting, knowing how to handle user accounts effectively can save you from headaches later on.
This detailed step-by-step guide will help you:
✅ Set up user accounts easily
✅ Manage different types of accounts
✅ Enhance security to protect your data
✅ Troubleshoot common issues like password recovery
Let’s dive in and learn everything about Windows User Account Management! 🚀
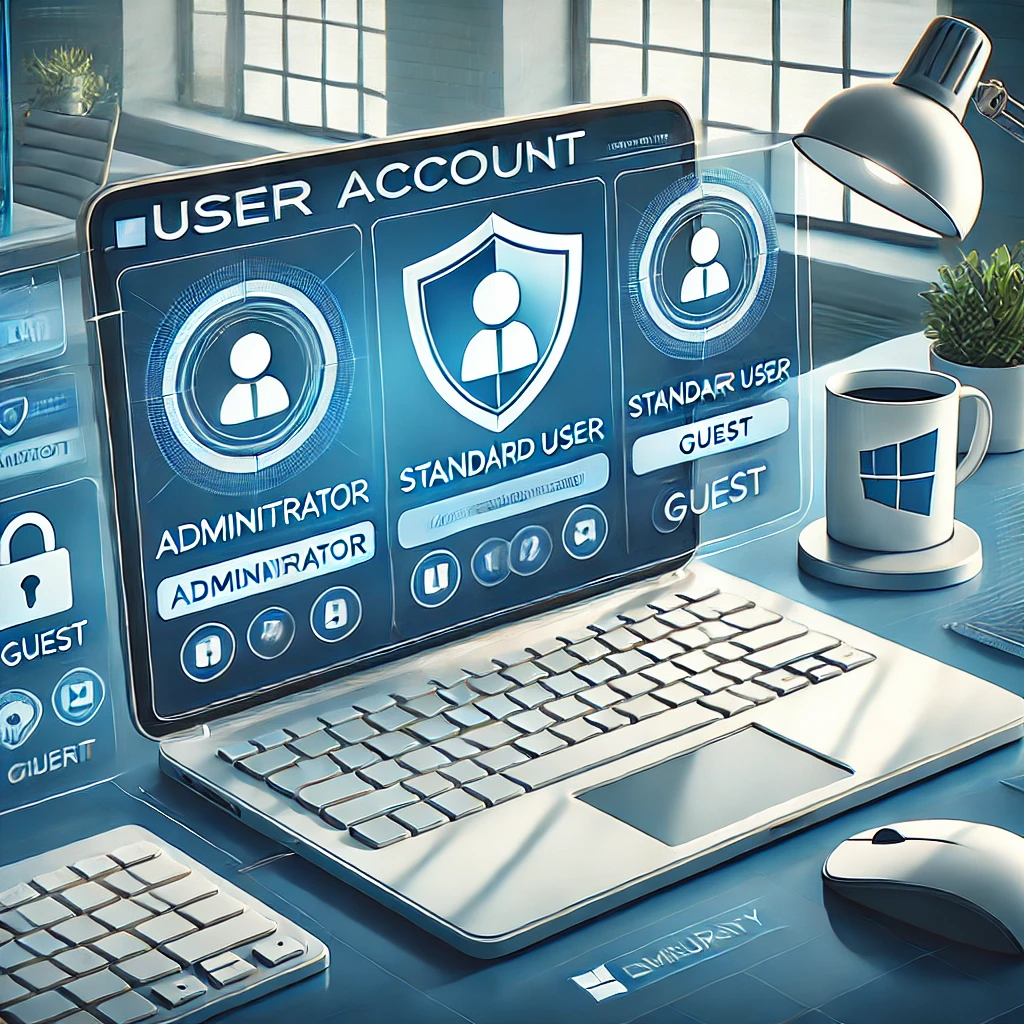
🔹 1. What Are Windows User Accounts?
Windows provides different types of user accounts, each designed for specific use cases. Here’s a quick breakdown:
👑 a) Administrator Account (Full Control)
✔️ Has complete control over the system
✔️ Can install/uninstall software
✔️ Can create, modify, or delete other user accounts
✔️ Can access all files and settings
Best for: Primary user, IT administrator, or business owner
👤 b) Standard User Account (Limited Access)
✔️ Can access installed apps and personal files
✔️ Cannot install/uninstall programs
✔️ Cannot change system-wide settings
Best for: Family members, employees, and guest users
👥 c) Microsoft Account vs. Local Account
| Feature | Microsoft Account 🌐 | Local Account 💻 |
|---|---|---|
| Cloud sync | Yes | No |
| Windows Store access | Yes | No |
| Online login | Yes | No |
| Works on one PC | No (syncs across devices) | Yes |
Which one should you choose?
👉 If you want cloud backup, device sync, and access to Microsoft services, go for a Microsoft Account.
👉 If you prefer privacy and offline use, choose a Local Account.
🔹 2. How to Create a New User Account on Windows?
There are two easy ways to add a user account.
🛠️ Method 1: Create a User Account via Windows Settings
1️⃣ Open Settings (Win + I)
2️⃣ Go to Accounts > Family & other users
3️⃣ Click “Add account” under Other users
4️⃣ Choose “I don’t have this person’s sign-in information” (if creating a local account)
5️⃣ Select “Add a user without a Microsoft account”
6️⃣ Enter a Username and Password
7️⃣ Click Next and you’re done! 🎉
🖥️ Method 2: Create a User Account via Control Panel
1️⃣ Open Control Panel
2️⃣ Click User Accounts > Manage another account
3️⃣ Select Add a new user
4️⃣ Follow the instructions and create the account
🔹 Pro Tip: Always create a Standard User Account for guests or children to avoid accidental system changes!
🔹 3. How to Switch Between User Accounts?
If you have multiple users, switching accounts is super easy!
⚡ Method 1: Switch from the Start Menu
📌 Click the Start Menu, then select your Profile Picture → Choose another account
🖥️ Method 2: Use Ctrl + Alt + Delete
📌 Press Ctrl + Alt + Delete → Click Switch user
🔒 Method 3: From the Lock Screen
📌 Press Win + L to lock your PC → Select another user
🔹 4. How to Manage User Accounts Like a Pro?
🔄 Change a User’s Account Type (Standard ↔ Admin)
1️⃣ Open Settings > Accounts > Family & other users
2️⃣ Click the user’s account → Change account type
3️⃣ Select Administrator or Standard User
4️⃣ Click OK ✅
🗑️ How to Delete a User Account
⚠️ Warning: Deleting an account removes all its data! Make sure to back up files before proceeding.
1️⃣ Open Settings > Accounts > Family & other users
2️⃣ Select the user and click Remove
3️⃣ Confirm deletion and click Delete account and data
✏️ How to Rename a User Account
1️⃣ Open Control Panel > User Accounts
2️⃣ Click Change your account name
3️⃣ Enter the New Name and click Change Name
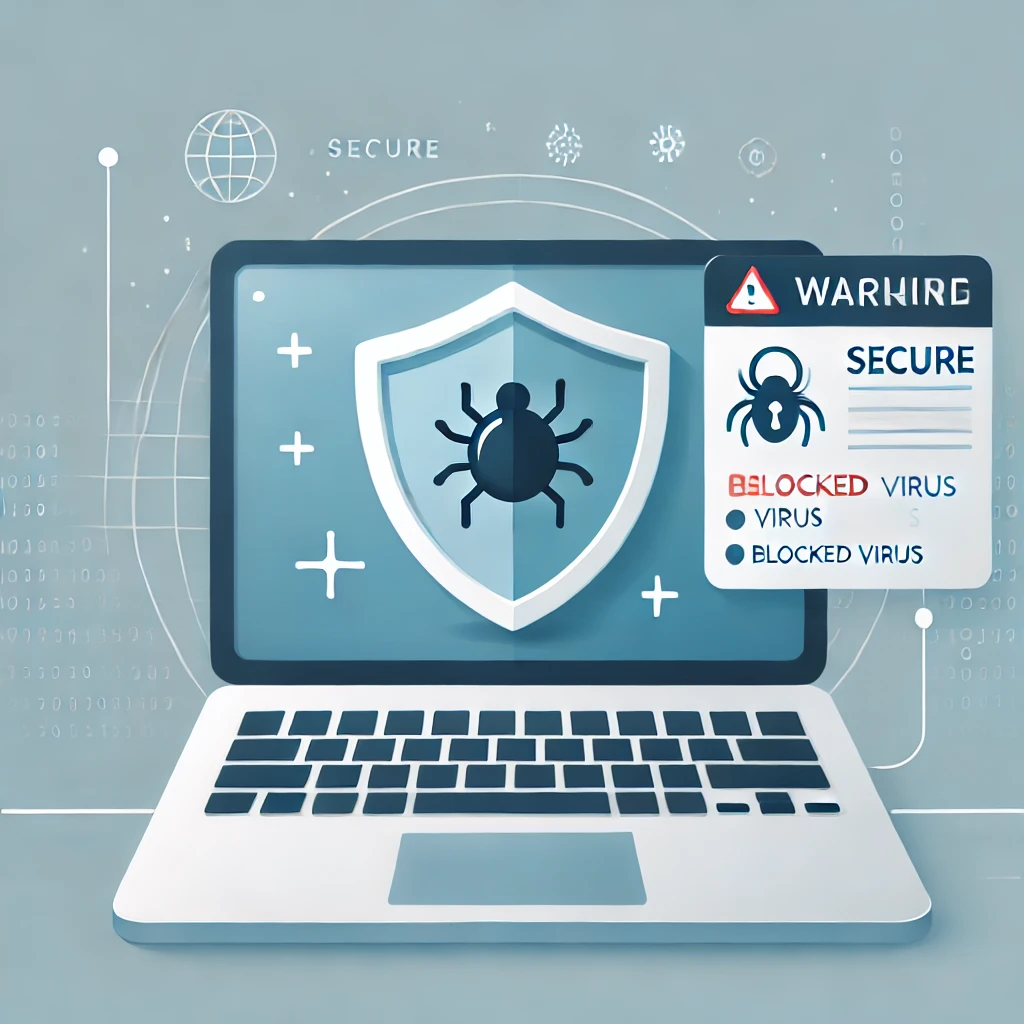
🔹 5. How to Secure Windows User Accounts? 🔒
Keeping your user accounts secure is critical to prevent hacking, unauthorized access, and data loss. Here’s how:
✅ a) Use a Strong Password
✔️ At least 12+ characters
✔️ Mix of letters, numbers, and symbols
✔️ Avoid using common words (e.g., password123)
🔑 b) Enable Two-Factor Authentication (2FA)
🔹 If using a Microsoft Account, enable 2FA for extra security!
1️⃣ Go to Microsoft Account Security
2️⃣ Click Two-Step Verification and follow the setup
📌 c) Set Up a PIN or Fingerprint Login
1️⃣ Open Settings > Accounts > Sign-in options
2️⃣ Choose Windows Hello PIN or Fingerprint (if supported)
3️⃣ Set up a secure login method
🚫 d) Enable Account Lockout Policy (Prevents Brute-Force Attacks)
1️⃣ Press Win + R, type gpedit.msc, and hit Enter
2️⃣ Navigate to Security Settings > Account Lockout Policy
3️⃣ Set Account Lockout Duration and Failed Attempts Limit
🔹 6. Parental Controls & Family Safety 👨👩👧👦
For parents managing kids’ accounts, Microsoft Family Safety allows you to:
✔️ Set screen time limits
✔️ Block inappropriate websites & apps
✔️ Monitor online activity
🛠️ How to Set Up Microsoft Family Safety?
1️⃣ Open Settings > Accounts > Family & other users
2️⃣ Click Add a family member
3️⃣ Customize parental controls under Microsoft Family Safety Dashboard
🔹 Bonus Tip: You can track your child’s activity from your smartphone using the Microsoft Family Safety app! 📲
🔹 7. Troubleshooting Common Issues 🚑
❓ Forgot Your Password? Reset It!
1️⃣ On the login screen, click Forgot Password?
2️⃣ Use your email or phone number for recovery
3️⃣ Follow the steps and set a new password
❓ Can’t Switch Users?
✔️ Restart your PC and try again
✔️ Make sure Fast User Switching is enabled (gpedit.msc)
❓ Lost Administrator Access?
✔️ Boot into Safe Mode
✔️ Enable the hidden Administrator account to restore access
🎯 Final Thoughts: Manage Windows Accounts Like a Pro!
Managing user accounts properly ensures better security, privacy, and control over your PC. Whether you’re setting up accounts for family members, employees, or guests, using these best practices will keep your system secure and efficient!
💡 Need more help? Drop your questions in the comments below! 🚀
🚀 You May Like :
🔗 The Ultimate Guide to Writing Your First Blog Post
🔗 How to Get Sponsored Blog Posts & Collaborate with Brands
🔗 Best Free Software Alternatives to Replace Expensive Tools
![]()


One thought on “Windows User Accounts: How to Setup, Security & Control”