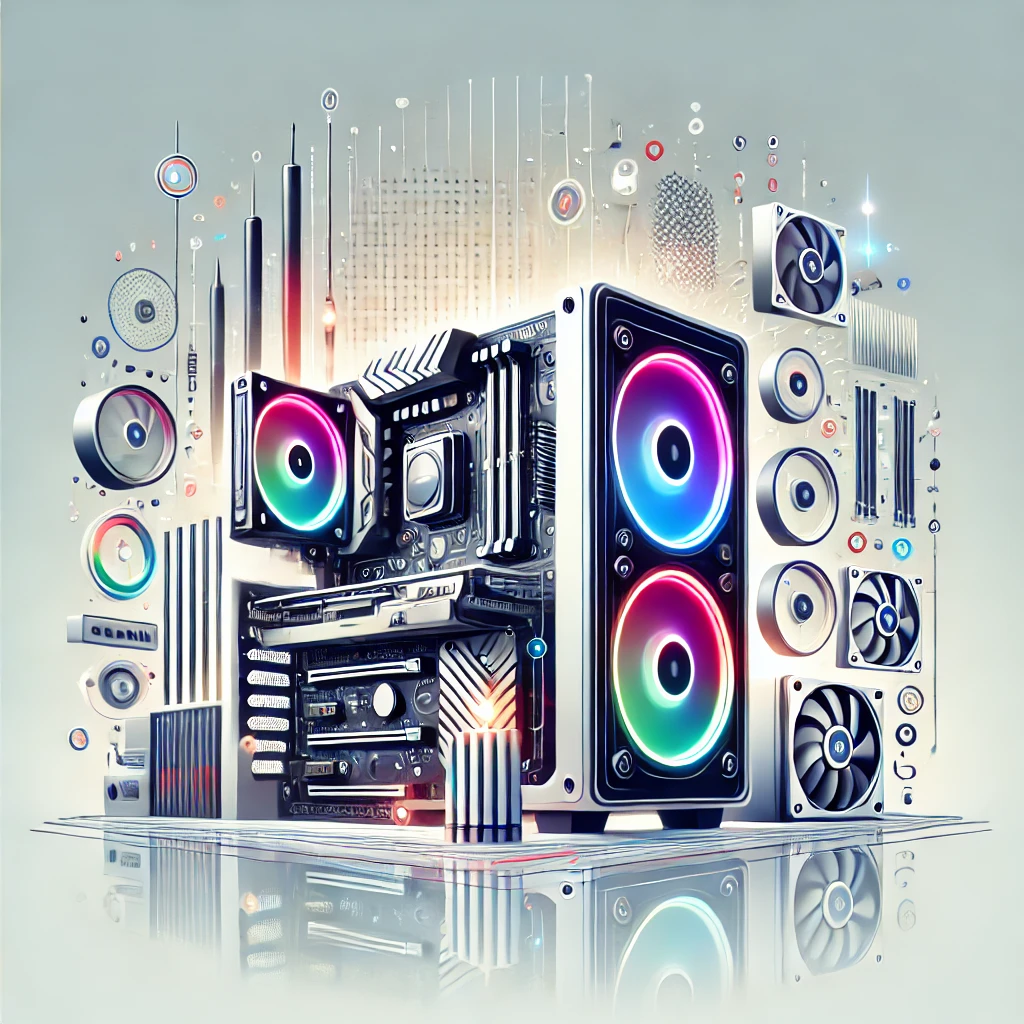
Building a gaming PC on a budget is an exciting and rewarding process. With the right components, you can achieve smooth 1080p gaming without overspending. This guide will cover everything, including:
✔ Choosing the Best Budget Components
✔ Step-by-Step Assembly
✔ Installing Software & Drivers
✔ Performance Optimization
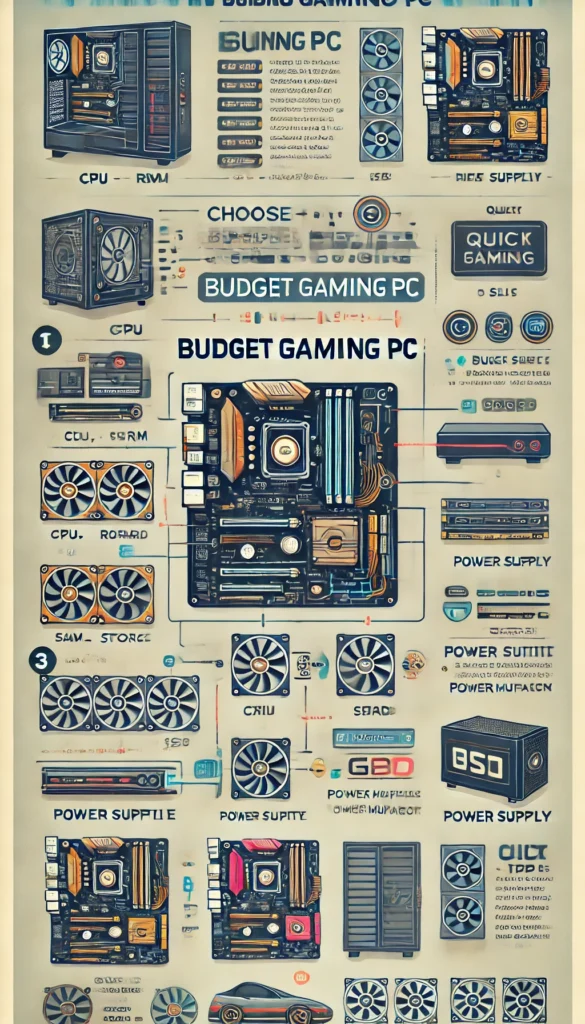
✔ Infographic for Quick Reference
Step 1: Plan Your Budget & Gaming Needs
Before selecting parts, consider:
- Games You Want to Play (Casual, Esports, AAA Titles)
- Resolution & FPS Expectation (1080p 60FPS, 1440p, etc.)
- Budget (₹30,000 – ₹60,000 / $400 – $800)
A budget gaming PC should handle 1080p gaming at 60FPS+ on medium to high settings.
Step 2: Choosing the Best Budget Components
1. Processor (CPU) – The Brain of Your PC
The CPU (Central Processing Unit) manages game physics, AI, and multitasking.
Best Budget CPUs:
| CPU | Cores/Threads | Clock Speed | Features |
|---|---|---|---|
| AMD Ryzen 5 5600G | 6C/12T | 3.9GHz / 4.4GHz | Integrated Vega Graphics (No GPU needed for casual gaming) |
| Intel Core i5-12400F | 6C/12T | 2.5GHz / 4.4GHz | Best for budget gaming (Needs dedicated GPU) |
💡 Tip: If you’re not buying a dedicated GPU immediately, go for Ryzen 5 5600G.
2. Graphics Card (GPU) – The Most Important Gaming Component
The GPU (Graphics Processing Unit) is responsible for rendering graphics.
Best Budget GPUs for 1080p Gaming:
| GPU | VRAM | Performance | Features |
|---|---|---|---|
| NVIDIA GTX 1660 Super | 6GB GDDR6 | 1080p High Settings | Best value for money |
| AMD RX 6600 | 8GB GDDR6 | 1080p Ultra Settings | Great for ray tracing |
| NVIDIA RTX 3050 | 8GB GDDR6 | 1080p Medium-High Settings | Entry-level ray tracing |
💡 Tip: Avoid outdated GPUs like GTX 1050 Ti or RX 570.
3. Motherboard – The Backbone of Your PC
The motherboard connects all components and determines upgrade potential.
Best Budget Motherboards:
| Motherboard | Socket | Features |
|---|---|---|
| MSI B450M PRO-VDH MAX | AM4 | Supports Ryzen 3000 & 5000 CPUs, PCIe 3.0 |
| ASUS PRIME B660M-K | LGA 1700 | Supports Intel 12th/13th Gen, PCIe 4.0 |
💡 Tip: Get a B550/B660 motherboard if you plan to upgrade your CPU in the future.
4. RAM (Memory) – Smooth Multitasking & Gaming
For gaming, 16GB RAM (8GB x2) DDR4 3200MHz+ is recommended.
Best Budget RAM Options:
| RAM | Speed | Type | Features |
|---|---|---|---|
| Corsair Vengeance LPX 16GB (2x8GB) | 3200MHz | DDR4 | Best performance for price |
| Crucial Ballistix 16GB (2x8GB) | 3600MHz | DDR4 | High-speed gaming memory |
💡 Tip: Always use dual-channel RAM (2x8GB) for better performance than a single 16GB stick.
5. Storage – Fast Boot & Load Times
SSD storage is essential for quick system booting and fast game load times.
Best Budget SSDs:
| Storage | Type | Speed |
|---|---|---|
| WD Blue SN570 500GB NVMe SSD | NVMe M.2 | 2400MB/s Read |
| Crucial P3 500GB NVMe SSD | NVMe M.2 | 3500MB/s Read |
💡 Tip: Install Windows & main games on an SSD for faster load times.
6. Power Supply (PSU) – Reliable Power Delivery
A good PSU ensures system stability and protects components from power fluctuations.
Best Budget PSUs:
| PSU | Wattage | Certification |
|---|---|---|
| Corsair CV550 | 550W | 80+ Bronze |
| Cooler Master MWE 450W | 450W | 80+ Bronze |
💡 Tip: Avoid cheap unbranded PSUs, as they can damage components.
7. PC Case – Airflow & Aesthetics
Choose a case with good airflow and at least one front fan.
Best Budget Cases:
| Case | Features |
|---|---|
| Ant Esports ICE-200TG | Good airflow, tempered glass |
| Deepcool Matrexx 55 | Stylish RGB design, solid cooling |
💡 Tip: Make sure your case supports your GPU size before buying!
Step 3: Assemble Your PC (Step-by-Step Guide)
1. Install the CPU on the Motherboard
✔ Open the CPU socket latch.
✔ Align the gold triangle on the CPU with the motherboard socket.
✔ Gently place it and lock it with the latch.
2. Install RAM Sticks
✔ Insert RAM into slots 2 & 4 (dual-channel mode).
✔ Press down until you hear a click.
3. Install the SSD
✔ Insert M.2 SSD into the M.2 slot and secure it with a screw.
4. Mount the Motherboard into the Case
✔ Place the motherboard inside the case and secure it with screws.
5. Install the Power Supply (PSU)
✔ Mount the PSU at the bottom of the case.
✔ Connect the 24-pin motherboard power cable & 8-pin CPU power cable.
6. Install the Graphics Card (GPU)
✔ Insert the GPU into the PCIe x16 slot on the motherboard.
✔ Secure it with screws and connect the PCIe power cable.
7. Cable Management & Final Checks
✔ Organize cables with zip ties for better airflow.
✔ Ensure all connections are secure before turning on the PC.
Step 4: Install Software & Drivers
✔ Install Windows 10/11 using a bootable USB.
✔ Download and install GPU drivers from NVIDIA/AMD.
✔ Install essential software (Steam, Epic Games, MSI Afterburner for monitoring).
Final Thoughts
Building a budget gaming PC gives you the freedom to customize your setup while saving money. By carefully choosing components, you can create a powerful system that delivers great gaming performance without spending too much.
🚀 Now go enjoy your new gaming PC! 🎮
// You May Like //
🔗 Wireless Earbuds- Best for Sound Quality & Battery Life
🔗 How to Fix Internet Connection Issues on Any Device
🔗 iPhone vs Android-Which One is Right for You: Ultimate Guide
![]()