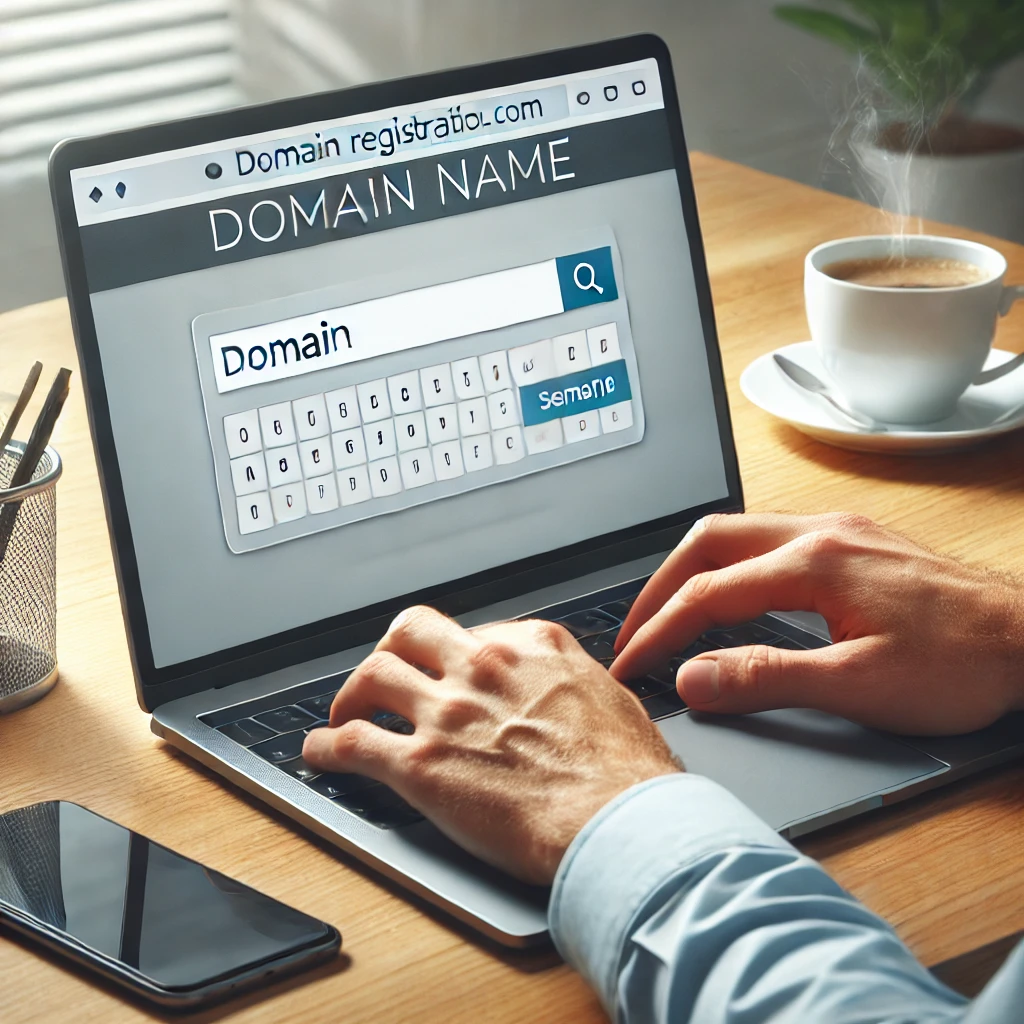
A domain name is the foundation of your online presence. Whether you’re starting a blog, an online business, or a personal website, choosing the right domain name is crucial. It’s your online identity, and it can impact your branding, SEO, and credibility.
In this step-by-step guide, we’ll walk you through everything you need to know about buying the perfect domain name, from choosing the right name to registering it with a reliable provider.
📌 Why Choosing the Right Domain Name Matters?
Your domain name plays a significant role in your online success. Here’s why:
✅ Brand Identity: A strong domain name makes your website memorable.
✅ SEO Benefits: Keywords in your domain can improve your Google ranking.
✅ Credibility & Trust: A professional domain builds trust with visitors.
✅ Easy to Share & Remember: A short, catchy name increases direct traffic.
Now, let’s dive into the step-by-step process of buying a domain name!
Step 1: Brainstorm and Choose the Right Domain Name
✔️ Tips for Picking a Great Domain Name
✔ Keep It Short & Simple – Aim for 6-15 characters (e.g., Google.com, Amazon.com).
✔ Make It Easy to Spell & Pronounce – Avoid complex words or special characters.
✔ Use Relevant Keywords – If possible, include keywords related to your niche (e.g., TechTrends.com for a tech blog).
✔ Avoid Hyphens & Numbers – They make domains harder to remember and type.
✔ Choose a Unique & Brandable Name – Check that it doesn’t infringe on any trademarks.
💡 Pro Tip: Use domain name generators like Namecheap, GoDaddy, or DomainWheel to get creative suggestions.
Step 2: Check Domain Availability
Once you have a few name ideas, you’ll need to check if they are available.
🔍 Where to Check Domain Availability?
🔹 GoDaddy (www.godaddy.com)
🔹 Namecheap (www.namecheap.com)
🔹 Google Domains (domains.google.com)
🔹 Bluehost (www.bluehost.com)
What If Your Desired Domain Is Taken?
❌ Try Different Extensions – If “yourdomain.com” is taken, check “.net”, “.org”, or “.io”.
❌ Modify Your Name Slightly – Add a word (e.g., “TheTechTrends.com”).
❌ Buy the Domain from the Current Owner – Use WHOIS Lookup to contact them.
💡 Pro Tip: Always go for .com domains as they are the most recognized and trusted.
Step 3: Choose a Domain Registrar & Buy Your Domain
A domain registrar is a company that sells and manages domain names.
🔹 Best Domain Registrars (2025)
| Registrar | Starting Price | Free WHOIS Privacy |
|---|---|---|
| Namecheap | $8.98/year | ✅ Yes |
| GoDaddy | $11.99/year | ❌ No (extra cost) |
| Google Domains | $12/year | ✅ Yes |
| Bluehost | Free (with hosting) | ✅ Yes |
How to Buy a Domain?
1️⃣ Search for Your Domain Name on the registrar’s website.
2️⃣ Add to Cart and choose the registration period (1 year, 2 years, or more).
3️⃣ Enable Domain Privacy Protection to hide your personal info.
4️⃣ Complete the Purchase by providing payment details.
💡 Pro Tip: Always enable auto-renewal to prevent losing your domain when it expires.
Step 4: Set Up Domain Privacy Protection (WHOIS Protection)
When you register a domain, your personal information (name, address, phone number) becomes publicly available in the WHOIS database.
🔒 Domain Privacy Protection hides your details and protects you from spam or identity theft.
Most registrars offer it for free (e.g., Namecheap & Google Domains), while others charge extra (e.g., GoDaddy).
Step 5: Connect Your Domain to Web Hosting
Once you own a domain, the next step is to connect it to a web hosting service where your website will be stored.
Top Hosting Providers (2025)
| Hosting Provider | Best For | Starting Price |
|---|---|---|
| Bluehost | WordPress blogs | $2.95/month |
| SiteGround | Business websites | $3.99/month |
| Hostinger | Budget-friendly | $2.49/month |
| WP Engine | Managed WordPress | $20/month |
How to Connect Your Domain to Hosting?
1️⃣ Log into your domain registrar account.
2️⃣ Find the Nameservers (NS) settings.
3️⃣ Enter Your Web Host’s Nameservers:
- Example:
ns1.bluehost.com,ns2.bluehost.com
4️⃣ Save Changes – It may take 24-48 hours for DNS propagation.
💡 Pro Tip: If you’re using Google Sites, Shopify, or Wix, you don’t need separate hosting—just connect the domain directly.
Step 6: Secure Your Domain Name for the Future
Now that you own your domain, take a few extra steps to protect your brand:
✔ Renew Your Domain Every Year – Enable auto-renewal.
✔ Register Social Media Handles – Get matching usernames on Twitter, Instagram, Facebook, etc.
✔ Buy Other Extensions – If you own “yourdomain.com”, also get “yourdomain.net” and “yourdomain.org” to prevent misuse.
✔ Set Up a Professional Email – Use Google Workspace or your web host to create an email like hello@yourdomain.com.
🔚 Final Thoughts: Get Your Domain & Build Your Website!
Buying a domain name is the first step toward building your online presence. Follow these steps to choose the perfect domain, register it with a trusted provider, and secure it for long-term success.
🔹 Need help picking a domain name? Drop your ideas in the comments, and I’ll help you choose the best one! 🚀
💡 You May Like :
>Blog Niche Selection: The Ultimate Guide for Beginners
>How to Choose the Right Blogging Platform : Ultimate Guide
>The Ultimate SEO Guide for Bloggers: Drive More Traffic Fast
![]()


Good