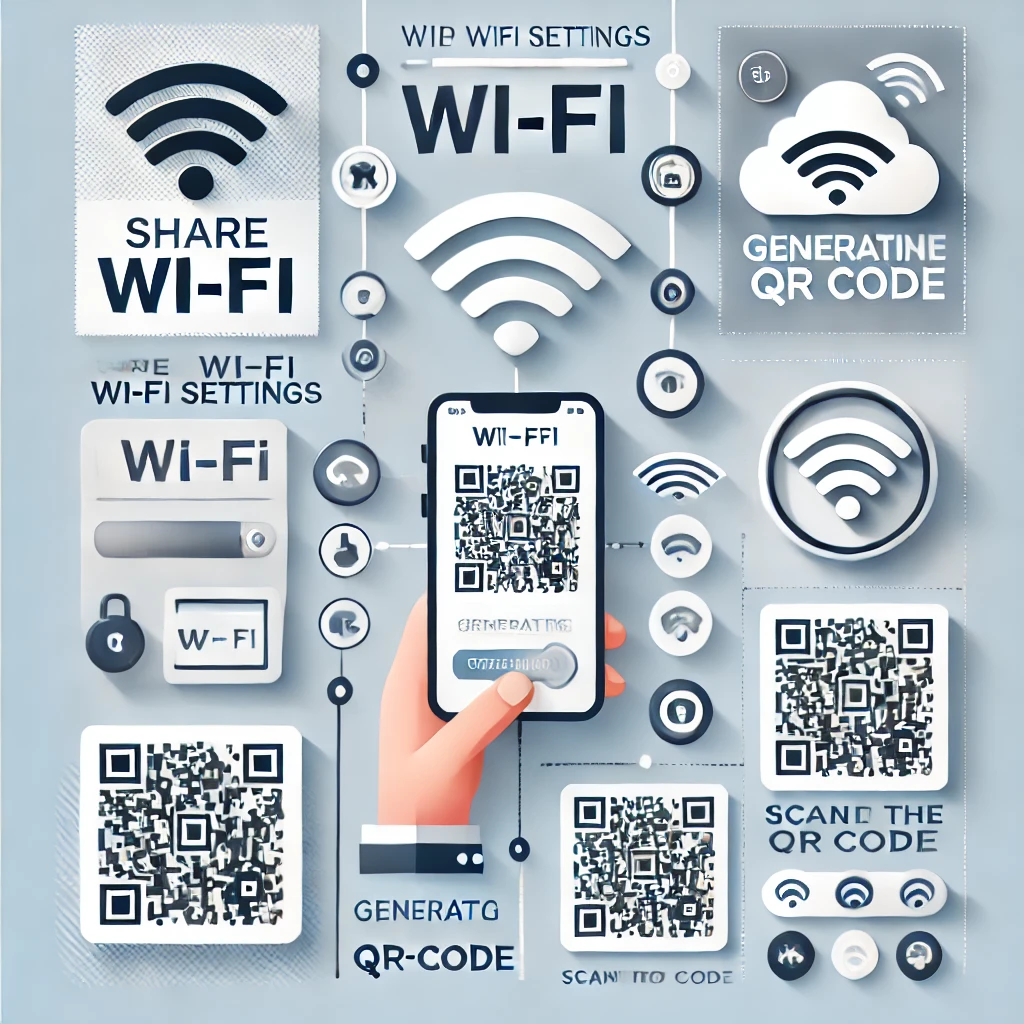
Sharing your Wi-Fi password manually can be frustrating, especially when it’s long and complex. Luckily, Wi-Fi sharing via QR code makes it easy! This method allows you to instantly connect devices without typing the password.
In this step-by-step guide, you’ll learn how to generate a Wi-Fi QR code on Android and iPhone and how to scan it to connect effortlessly.
🔹 Why Use a Wi-Fi QR Code for Sharing?
✅ No need to remember passwords 🔑
✅ Fast and hassle-free connection 🚀
✅ More secure than verbally sharing passwords 🔒
✅ Works on Android, iPhone, and other QR-scanning devices 📱
🔹 How to Share Wi-Fi via QR Code on Android
Most modern Android phones allow you to generate a Wi-Fi QR code directly from settings. Follow these steps:
✅ Step 1: Open Wi-Fi Settings
1️⃣ Go to Settings on your Android phone.
2️⃣ Tap Wi-Fi & Network or Connections (depending on your phone).
3️⃣ Select Wi-Fi and ensure you’re connected to the network you want to share.
✅ Step 2: Generate the QR Code
4️⃣ Tap the network name (SSID).
5️⃣ Look for the QR code icon or “Share” option.
6️⃣ Your device will generate a Wi-Fi QR code.
✅ Step 3: Scan the QR Code to Connect
- Open the camera or a QR code scanner on another phone.
- Point the camera at the Wi-Fi QR code.
- Tap Join Network when prompted.
📌 Tip: If your camera doesn’t recognize the QR code, use Google Lens or a QR scanner app.
🔹 How to Share Wi-Fi via QR Code on iPhone
iPhones don’t generate QR codes for Wi-Fi directly, but you can use a third-party method to do it.
✅ Step 1: Use the Built-in Wi-Fi Sharing Feature
1️⃣ Ensure Wi-Fi & Bluetooth are enabled on both iPhones.
2️⃣ Keep the recipient’s iPhone near your device.
3️⃣ When the recipient tries to join your network, a “Share Wi-Fi” popup will appear on your iPhone.
4️⃣ Tap Share Password to connect them instantly.
📌 Note: This works only if both devices use iOS 11 or later and are signed into iCloud with each other’s contacts saved.
✅ Step 2: Generate a Wi-Fi QR Code (Alternative Method)
Since iPhones don’t have a built-in QR generator for Wi-Fi, use a free website like:
🔗 https://qifi.org
1️⃣ Enter your Wi-Fi name (SSID) and password.
2️⃣ Click Generate to create a Wi-Fi QR code.
3️⃣ Save or print the QR code for future use.
🔹 How to Scan a Wi-Fi QR Code on Any Device
Most smartphones can scan QR codes using their camera.
✅ On Android:
- Open the Camera app or Google Lens.
- Point it at the Wi-Fi QR code.
- Tap Join Network when prompted.
✅ On iPhone:
- Open the Camera app.
- Point it at the Wi-Fi QR code.
- Tap Join Network when prompted.
✅ On Other Devices (Laptops/Tablets):
- Use a QR code scanner app.
- Some Windows & Mac devices can scan QR codes using third-party software.
🔹 Troubleshooting: If the Wi-Fi QR Code Isn’t Working
🚨 Issue 1: The QR Code Doesn’t Scan
✔️ Ensure the QR code is clear and not blurry.
✔️ Try a different QR scanner app like Google Lens.
🚨 Issue 2: Incorrect Password Error
✔️ Make sure you entered the correct Wi-Fi credentials before generating the QR code.
🚨 Issue 3: Wi-Fi Not Connecting After Scanning
✔️ Ensure Wi-Fi is turned on on the device scanning the QR code.
✔️ If the network has MAC address filtering, add the new device manually.
🔹 Conclusion: Effortless Wi-Fi Sharing with QR Codes
Wi-Fi QR codes simplify network sharing without typing passwords. Whether you’re using Android, iPhone, or another device, following these steps ensures a quick and secure connection.
✅ Android users can generate Wi-Fi QR codes directly from settings.
✅ iPhone users can use Wi-Fi sharing or QR code generators.
✅ Scanning is easy using a phone camera or QR scanner app.
💬 Have you tried Wi-Fi QR sharing? Let us know your experience below! 🚀
// You May Like //
🔗 How to Fix Mobile Wi-Fi & Bluetooth Connection Problems
🔗 How to Fix Software Crashes & Freezing Issues
🔗 How to Fix Unresponsive Printer or Peripheral on PC
![]()