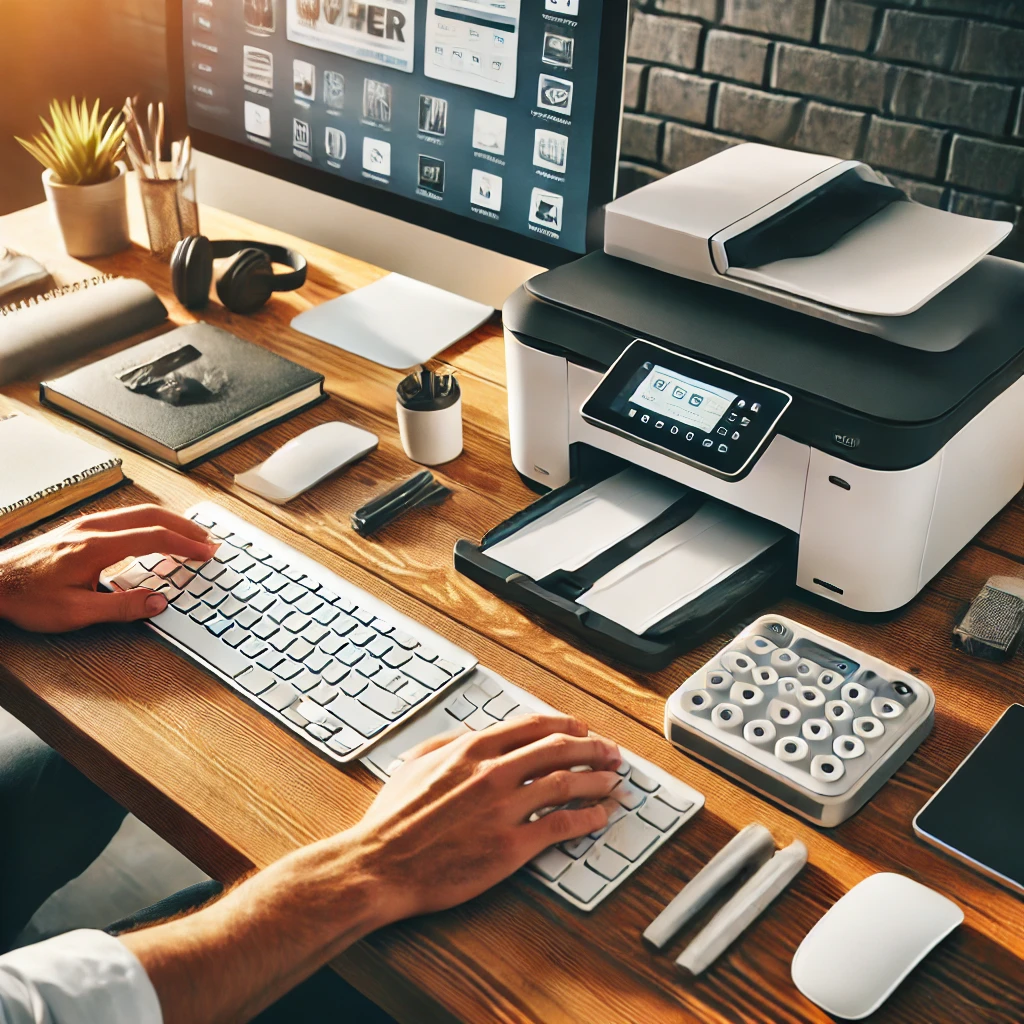
Setting up a printer or peripheral devices like external hard drives, keyboards, mice, or scanners can seem tricky, but with the right steps, it’s a breeze. Whether you use Windows or macOS, properly configuring these devices ensures they work efficiently.
This guide covers step-by-step installation methods for printers and peripheral devices on Windows and Mac, including USB, wireless, and Bluetooth connections.
Types of Peripheral Devices & Connection Methods
Before diving into setup instructions, let’s understand peripheral devices and how they connect to a PC.
1️⃣ Types of Peripheral Devices
✔️ Input Devices – Keyboards, mice, graphic tablets, webcams, microphones.
✔️ Output Devices – Printers, speakers, monitors, external displays.
✔️ Storage Devices – External hard drives, USB flash drives, memory cards.
✔️ Multifunctional Devices – All-in-one printers, external sound cards, docking stations.
2️⃣ Types of Connections
🔹 USB Connection – Most devices, including printers, use a USB cable for quick installation.
🔹 Wireless (Wi-Fi/Bluetooth) – Many modern printers and devices connect wirelessly.
🔹 Ethernet (LAN) – Some office printers and high-speed peripherals use Ethernet.
Now, let’s set up printers and other peripheral devices on Windows and Mac.
How to Set Up a Printer on Windows
Windows makes it easy to install both USB and wireless printers.
1️⃣ Installing a Printer via USB (Plug-and-Play Method)
1️⃣ Connect the printer to your PC using a USB cable.
2️⃣ Turn on the printer and wait for Windows to automatically detect it.
3️⃣ If prompted, install the printer driver (Windows may download it automatically).
4️⃣ Go to Settings > Devices > Printers & Scanners.
5️⃣ Click “Add a Printer” and select your device.
6️⃣ Follow the on-screen instructions to complete the installation.
✔️ Done! Your printer is now ready to use.
2️⃣ Installing a Wireless Printer on Windows
For Wi-Fi-enabled printers, follow these steps:
1️⃣ Ensure your printer is connected to Wi-Fi (Refer to your printer’s manual for Wi-Fi setup).
2️⃣ On your PC, go to Settings > Devices > Printers & Scanners.
3️⃣ Click “Add a Printer”, and Windows will search for available printers.
4️⃣ Select your printer and click “Add Device”.
5️⃣ Install any additional drivers if prompted.
✔️ Now, you can print wirelessly from your PC!
How to Set Up a Printer on macOS
macOS provides a smooth plug-and-play experience for printers.
1️⃣ Installing a Printer via USB on Mac
1️⃣ Connect the printer to your Mac using a USB cable.
2️⃣ Turn on the printer, and macOS will detect it automatically.
3️⃣ Go to System Settings > Printers & Scanners.
4️⃣ Click “Add Printer”, select your printer, and install necessary drivers.
5️⃣ Your printer is now set up and ready to use.
✔️ Mac automatically detects most USB printers, making installation seamless.
2️⃣ Installing a Wireless Printer on macOS
1️⃣ Ensure your printer is connected to Wi-Fi.
2️⃣ On your Mac, go to System Settings > Printers & Scanners.
3️⃣ Click “+” (Add Printer)”, then select your printer from the available list.
4️⃣ Install drivers if prompted.
✔️ Now, you can print wirelessly from your Mac.
How to Set Up Peripheral Devices on Windows & macOS
Apart from printers, setting up other peripheral devices follows similar steps.
1️⃣ Setting Up a USB Peripheral Device (Keyboard, Mouse, External Drive, etc.)
1️⃣ Connect the device to a USB port.
2️⃣ Windows or macOS will automatically detect and install the required drivers.
3️⃣ If necessary, go to Device Manager (Windows) / System Settings (Mac) to verify the device.
✔️ Your device is now ready to use!
2️⃣ Setting Up a Bluetooth Peripheral Device
For wireless keyboards, mice, speakers, and headphones, follow these steps:
🔹 On Windows:
1️⃣ Go to Settings > Devices > Bluetooth & other devices.
2️⃣ Click “Add Bluetooth Device” and select your device.
3️⃣ Follow on-screen instructions to complete pairing.
🔹 On Mac:
1️⃣ Go to System Settings > Bluetooth.
2️⃣ Turn on Bluetooth and click “Connect” for your device.
✔️ Your Bluetooth device is now connected!
3️⃣ Setting Up an External Storage Device
✔️ On Windows: Connect the drive, open File Explorer, and locate it under This PC.
✔️ On Mac: Open Finder, and the drive appears under Devices.
If the drive is not detected:
- Format it to a compatible file system (NTFS for Windows, APFS or exFAT for Mac).
- Update drivers if necessary.
Troubleshooting Common Issues
❌ Windows/macOS Doesn’t Detect My Device:
✔️ Try another USB port or restart your computer.
❌ Printer Won’t Print:
✔️ Check if the printer is set as the default in settings.
✔️ Ensure Wi-Fi is connected (for wireless printers).
❌ Bluetooth Device Won’t Connect:
✔️ Remove the device from Bluetooth settings and re-pair it.
Final Thoughts
Setting up a printer or peripheral device on Windows and macOS is straightforward if you follow the right steps.
Best Practices for Seamless Installation:
✅ Keep your system updated for latest drivers.
✅ Use manufacturer’s software for better functionality.
✅ Regularly check device settings to ensure smooth performance.
By following this guide, you can effortlessly connect and use printers, keyboards, storage drives, and other peripherals on your PC. 🚀
🔥 You May Like :
🔗 Windows User Accounts: How to Setup, Security & Control
🔗 How to Solve Unresponsive Programs issues of Computer
🔗 How to Secure Your Accounts with Two-Factor Authentication
![]()


